If drywall damage is minor and superficial, patching is often sufficient. But in cases involving structural compromise, mold, or large holes, full drywall replacement is the smarter move—especially if you’re planning to repaint. Why? Because any flaw beneath the surface can eventually show through even the best paint job.
Whether you’re a homeowner preparing for interior upgrades or a property manager scheduling unit turnarounds, knowing when to patch vs. replace drywall sets the foundation for a flawless, long-lasting paint finish.
Types of Drywall Damage and Their Impact on Painting
Minor Damage Suitable for Patching
Some drywall issues are cosmetic and easy to fix:
-
Small nail or screw holes
-
Minor dents or impressions
-
Hairline surface cracks
-
Light scratches
These can be repaired using basic patching compounds without compromising the paint system. Once patched and sanded smooth, a quality primer will create a uniform surface for paint. No texture repair is usually needed.
Moderate Damage That May Require Larger Patches
Damage in this category is still repairable but requires more attention to detail and more robust patching materials:
-
Holes from door knobs, wall anchors, or accidents (½ to 6 inches wide)
-
Water stains without active mold or structural rot
-
Peeling paper layers from moisture exposure or adhesive removal
These problems demand reinforcement such as mesh tape, patch kits, or even cutting and replacing a small section of drywall. If done incorrectly, these repairs can show through paint as flashing or an uneven sheen, so proper compound layering and feathering is essential.
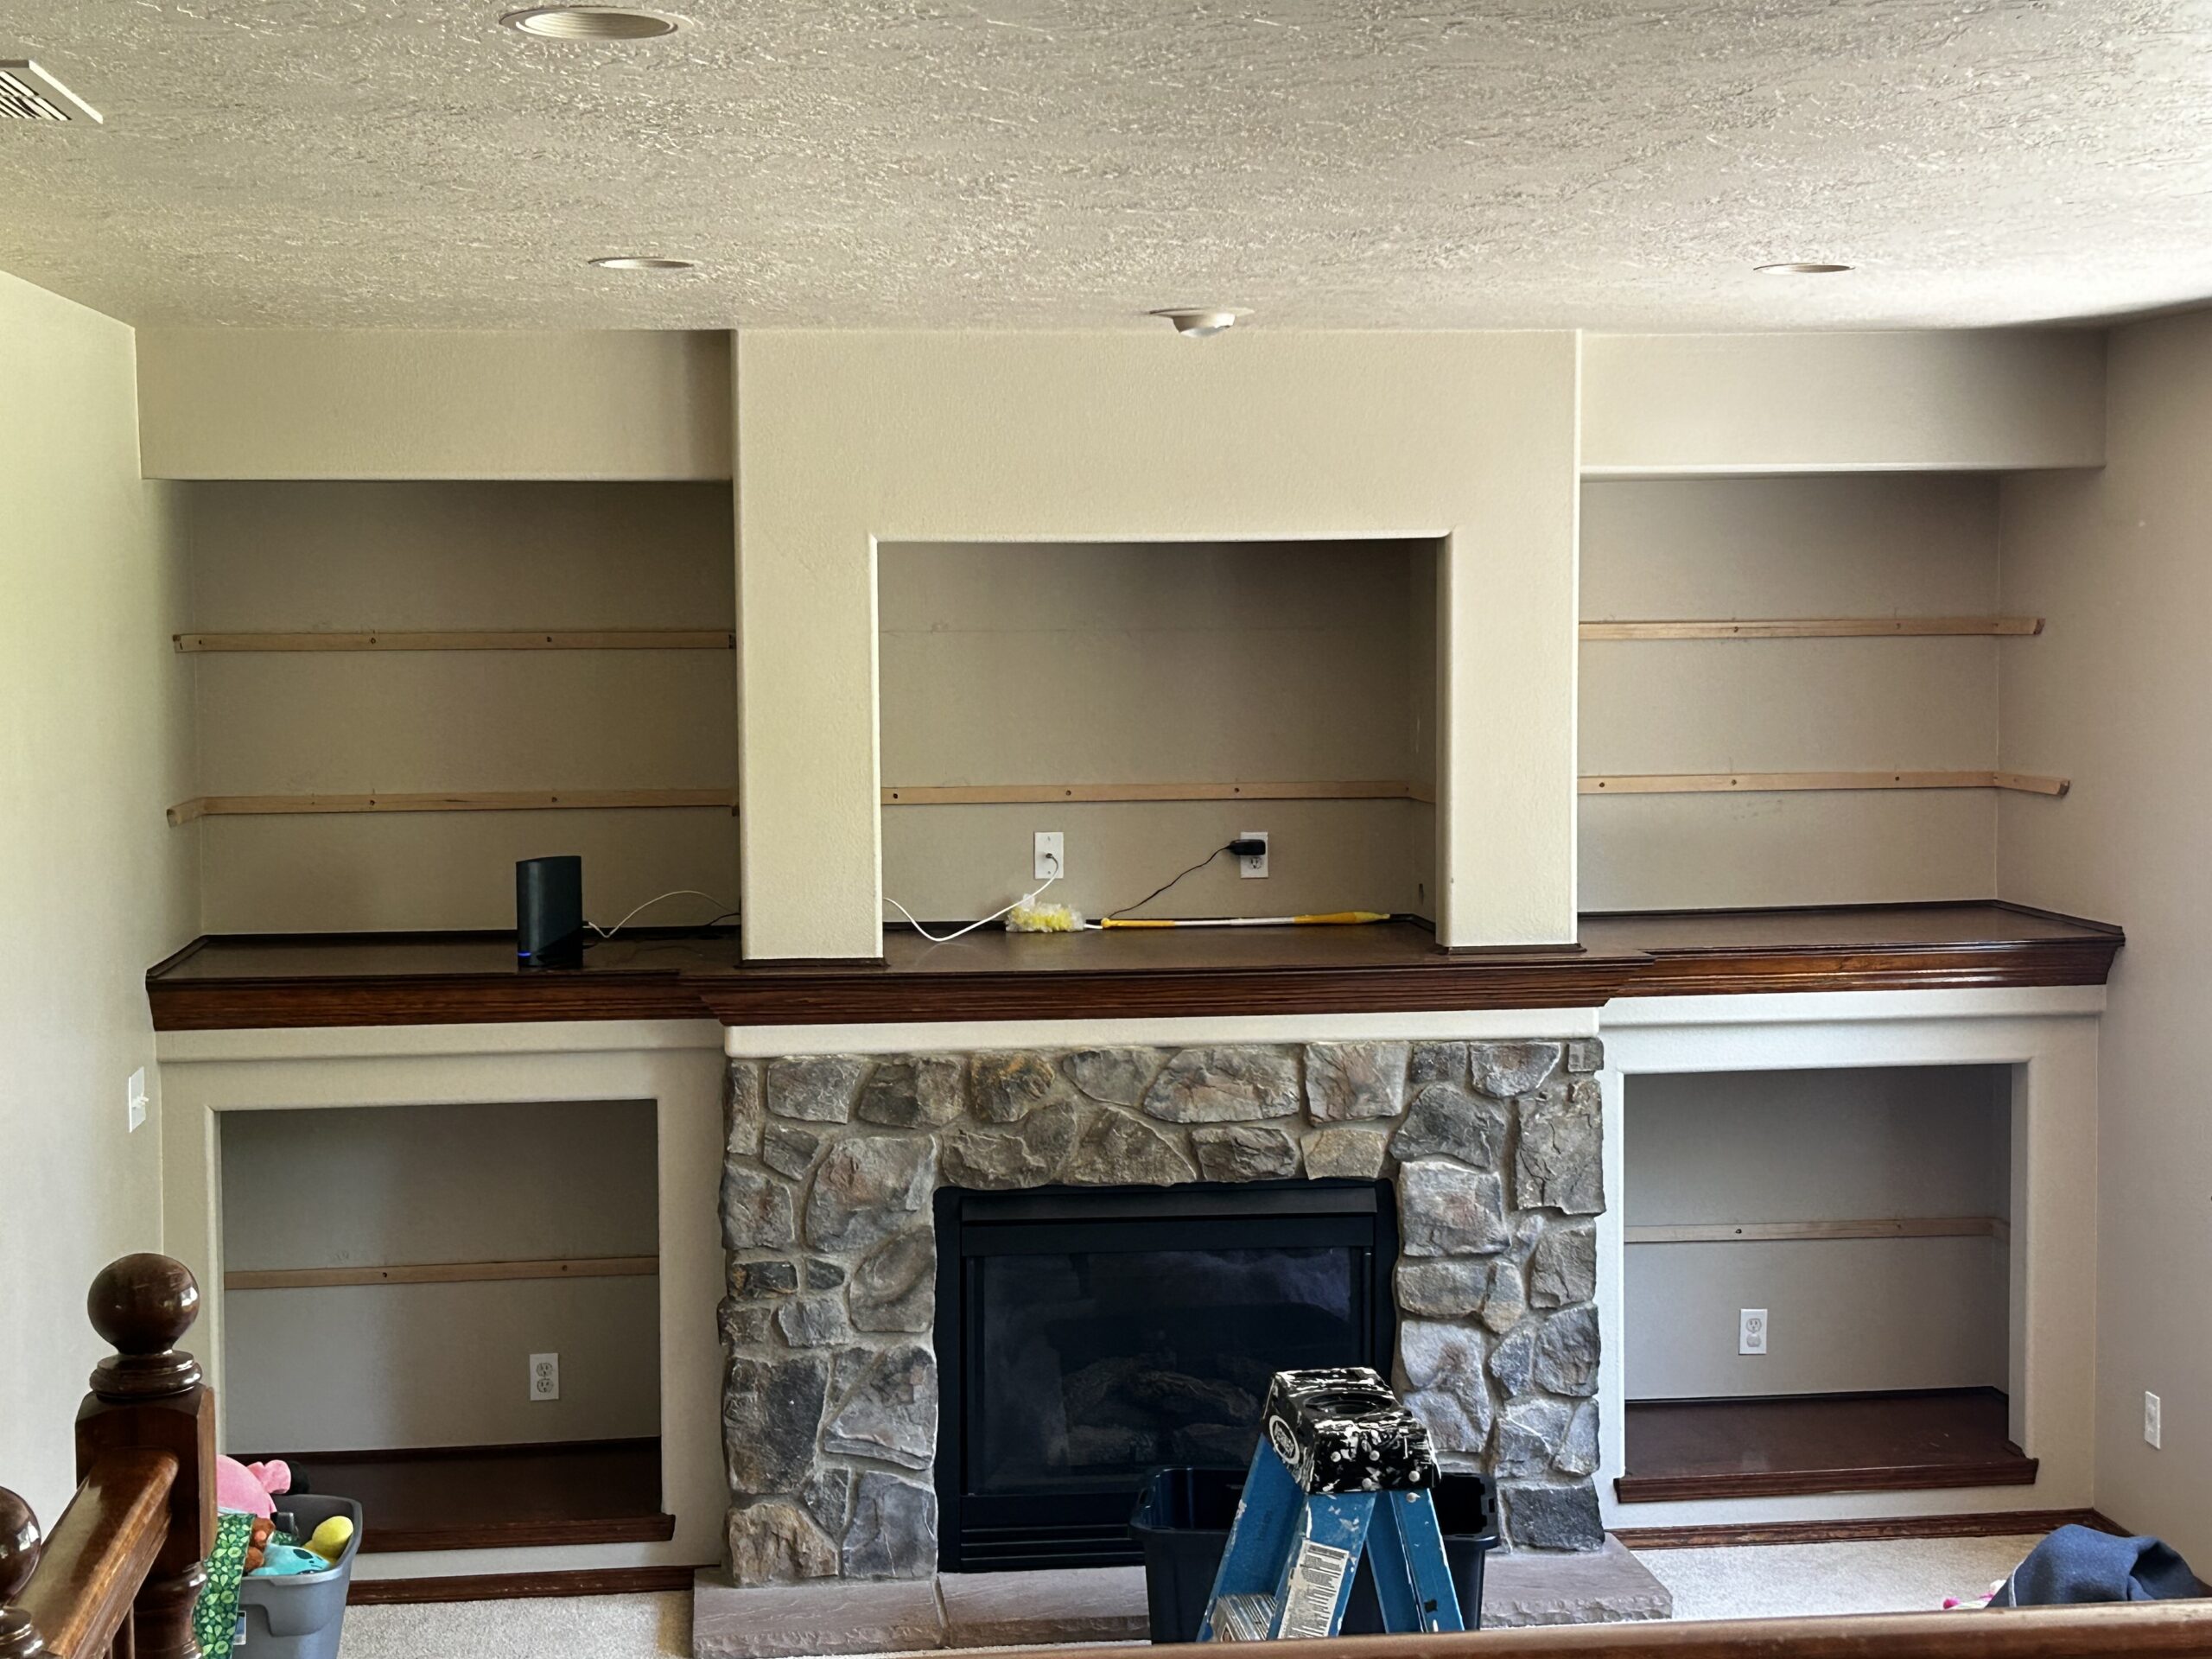
Severe Damage Necessitating Drywall Replacement
Certain drywall problems cannot be reliably fixed with patching materials:
-
Holes wider than 6 inches or spanning wall studs
-
Drywall that’s bowed, sagging, or crumbling from water exposure
-
Black mold or mildew embedded in the gypsum core
-
Burnt or smoke-damaged walls
-
Structural issues such as warped framing behind the drywall
Painting over compromised drywall may mask issues temporarily—but will eventually lead to bubbling paint, discoloration, or peeling.
Patching Drywall: Techniques and Products
Best Practices for Small and Medium Repairs
When patching drywall, the goal is to return the surface to its original smoothness and consistency so the paint finish is indistinguishable from the surrounding area.
| Repair Size | Recommended Product | Technique |
|---|---|---|
| Nail/screw holes | DAP DryDex Spackling, 3M Patch Plus | Apply with putty knife, allow to dry, sand smooth |
| Hairline cracks | Sheetrock All Purpose Joint Compound | Widen crack slightly, apply compound, tape if needed |
| Medium holes (2–6″) | Mesh patch with compound or metal patch kits | Secure patch, apply layers of joint compound, feather edges, sand smooth |
After patching, always apply a bonding primer before painting. This ensures consistent absorption and prevents patch “flashing” through the topcoat.
Specialized Products for Water-Damaged Areas
If the drywall has suffered from water damage but doesn’t require full replacement, the following products will help restore the integrity of the wall:
-
Zinsser Bulls Eye 1-2-3 or Kilz Original: These primers block water stains and odors while preparing the surface for repainting.
-
Mold-resistant drywall compound (like DAP Mold Control Patch): Ideal for bathrooms or previously humid areas.
It’s essential to identify and fix the moisture source before repairing the drywall. Otherwise, the issue will return—and take your new paint job with it.
Drywall Replacement: When and Why
Assessing Structural Damage
Drywall must be structurally sound to support a paint system. Signs that indicate replacement instead of repair include:
-
Widespread soft spots or crumbling texture
-
Persistent dampness or sagging
-
Bubbling or peeling paint that returns even after repainting
-
Discoloration and foul odor from mold growth
In these cases, painting over the problem leads to surface failure, increased repaint frequency, and compromised indoor air quality.
Advantages of Full Replacement
Replacing drywall, while more labor-intensive, offers long-term advantages:
-
Clean slate for painters: No hidden patches, seams, or texture inconsistencies
-
Better paint adhesion: Especially when using high-end primers and finishes
-
Moisture and mold control: Moisture-resistant (green board or purple board) drywall options available
-
Fire safety upgrades: Use of Type X fire-rated drywall in code-compliant commercial spaces
This makes full replacement especially beneficial in basements, bathrooms, kitchens, and multifamily properties where long-term durability matters.
Considerations and Costs
| Factor | Patching | Replacement |
|---|---|---|
| Labor Time | 1–4 hours | 6–24 hours (depending on wall size) |
| Material Cost | $10–$50 | $50–$300+ |
| Disruption | Minimal | Moderate (dust, tear-out) |
| Result Lifespan | Short–medium term | Long-term |
While patching is cheaper upfront, full drywall replacement may save money in repainting costs over time—especially if the surface is unstable or repeatedly problematic.
Painting Considerations After Repair or Replacement
Primer Selection
Priming repaired or new drywall is non-negotiable if you want uniform color and adhesion. Use the right primer for the surface condition:
-
For patches: Use a high-bonding primer (like Kilz 3 Premium or Zinsser Bulls Eye)
-
For water-damaged repairs: Use stain-blocking primer
-
For new drywall: Use a dedicated primer sealer, not paint-and-primer-in-one
Skipping primer often results in visible seams, flashing, or uneven sheen once painted.
Matching Texture and Finish
Untextured drywall is rare. Even a smooth finish has a subtle texture that reflects light. To match it post-repair:
-
Feather compound 6–12 inches beyond the patch edges
-
Lightly sand and sponge the area to blend with the existing texture
-
For textured walls, use texture spray or a roller nap designed to mimic orange peel or knockdown finishes
Poor texture matching is one of the most common reasons touch-ups look obvious—even if the color is correct.
Paint System Choices for Longevity
After repairs, don’t cut corners with low-quality paint. Use:
-
High-quality acrylic latex paints for flexibility and durability
-
Satin or eggshell finish in high-traffic or moisture-prone areas for better scrub resistance
-
Two coats minimum for consistent coverage and surface protection
Always allow patched or replaced drywall to fully dry, prime, and cure before painting.
Advice for Property Owners and Painters
Inspecting and Documenting Damage Before Painting
For property managers, painters, and homeowners, this step is critical:
-
Use a bright work light or raking light to highlight imperfections
-
Mark all visible dents, water stains, cracks, and uneven surfaces
-
Document areas requiring replacement vs. patching
-
Photograph problem areas—especially before tenant turnover or lease-end repairs
Clear communication between maintenance teams and painters ensures no missed issues during prep.
Scheduling Repairs and Painting Efficiently
Time your work carefully:
-
Repair and patching must be fully complete before painting prep
-
Allow proper drying time for spackle and compound (typically 24 hours)
-
Prime repaired areas before scheduling your final coats
-
For larger jobs, consider a 48–72 hour buffer between drywall and paint
This coordination prevents delays, reduces touch-up needs, and ensures a smooth paint finish.
Warranty and Quality Control Tips
Drywall work affects paint warranties. If the substrate fails, so will the paint. Best practices include:
-
Use paint-approved joint compounds
-
Ensure repairs meet surface prep standards in the paint manufacturer’s TDS (Technical Data Sheet)
-
Document repairs and primer types used
-
Have contractors sign off on substrate readiness before painting begins
People Also Asked
Can I paint over patched drywall?
→ Yes, but only if it’s sanded smooth and primed correctly. Otherwise, paint may flash or peel.
How do I know if drywall needs to be replaced?
→ If it sags, crumbles, shows mold, or has extensive holes, replacement is safer and more effective than patching.
Will patched drywall show through the paint?
→ Properly done, no. But flashing, texture mismatches, or sheen variation will show if repairs aren’t done thoroughly.
Does drywall texture affect paint adhesion?
→ Yes. Consistent texture ensures light reflects evenly, which makes color and sheen look uniform.
How long after drywall repair should I wait to paint?
→ At least 24 hours. For deep repairs or humid conditions, 48–72 hours may be necessary.
Making the Right Repair Choice Protects Your Paint Investment
Drywall is more than a surface—it’s the backbone of your paint job. Whether you’re patching a few dents or replacing entire sections, your repair approach directly affects how good your walls look and how long the finish lasts.
Patching works well for small, contained issues. Replacement is best for large, damp, sagging, or compromised areas.
Understanding when to use each method helps homeowners, property managers, and painting contractors ensure a flawless, lasting finish. Don’t skip the prep. Don’t underestimate the substrate.

